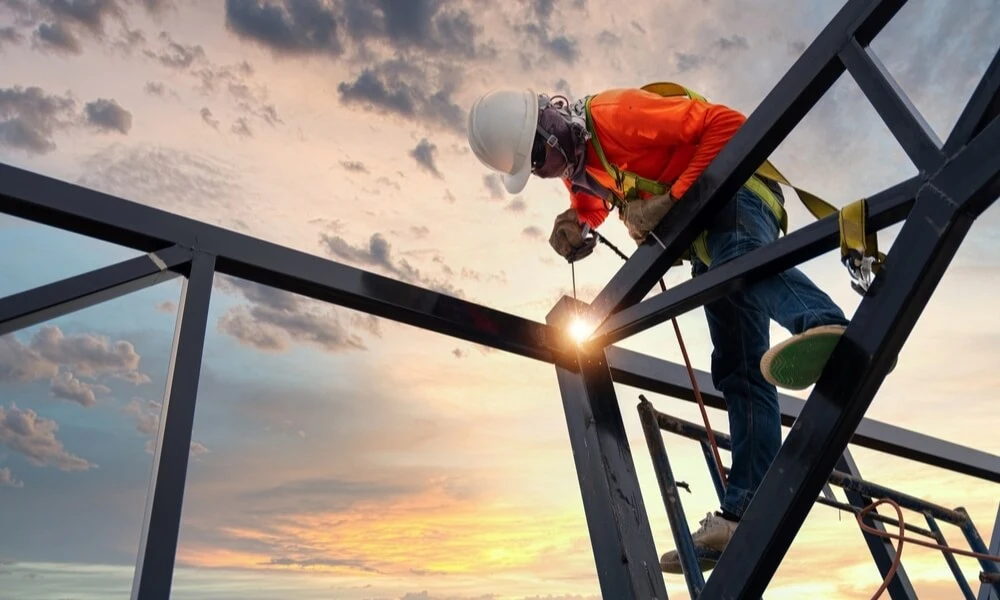
Working at heights brings a unique set of risks that must be comprehensively understood and mitigated to ensure the safety of all workers. This blog post will explore the crucial Working Height Risk Assessment process. From identifying potential hazards to reviewing and updating your procedures, we will guide you step-by-step to ensure a comprehensive risk assessment.
This process protects your employees and helps your company stay compliant with workplace safety regulations. By the end of this blog, you’ll have the knowledge and resources necessary to create a safer work environment when working at heights. Let’s ensure your team’s and workplace’s safety by understanding and controlling the risks associated with working at height.
Working at Height Risk Assessment
- Identifying the hazards.
- Deciding who might be harmed and how.
- Evaluating the risks and deciding on precautions.
- Recording your findings and implementing them.
- Review your assessment and update it if necessary.

Step 1: Identifying the Hazards
The first step of a risk assessment is to identify the hazards that are present in the workplace. You can identify the hazards through the following:
- Workplace observations.
- Obtaining feedback from employees.
- Checking the manufacturer’s instructions or data sheets for any equipment.
- Reviewing past accidents and ill-health records.
This could involve looking out for slip and trip hazards, lone-working, manual handling, cleaning chemicals or fire risks, etc.
For working at height activities, the Work at Height Regulations 2005 state that the following factors also need to be considered in the risk assessment:
- The working conditions and the risks to the safety of people at the place where any work equipment is to be used.
- The distance and consequences of any potential fall.
- The duration and frequency of use of work equipment.
- The necessity for an easy and timely evacuation and rescue in an emergency.
- Any additional risk posed by the use, installation, or removal of work equipment or by the evacuation and rescue from it.
- Whether the work equipment is appropriate to the nature of the work to be performed.
- Whether the work equipment allows passage without risk.

Step 2: Deciding Who Might be Harmed
The second step in work at height risk assessment involves looking at each hazard and then identifying the people who may be harmed by them. These people may be:
- Specific groups of employees.
- Customers and members of the public.
- Visitors.
Some employees also have particular requirements, such as:
- Young workers.
- Expectant mothers.
- People with disabilities.
- People who are not at work always, such as part-timers and sub-contractors.
Ensure you consider every person involved in the work area where the hazard is present.

Step 3: Evaluating the Risks
The next step in the risk assessment is to evaluate the hazards you have identified and decide whether they can be eliminated. If not, how can you control the risks so that harm is unlikely? You could consider:
- Trying a less risky option.
- Preventing access to the hazard.
- Re-organizing work to reduce or control exposure.
- Issuing personal protective equipment (PPE).
- Training staff to ensure they understand the hazards and precautions to be taken.
Think about the control measures you already have: are these sufficient? Do you need to improve them or introduce new control measures?

4: Recording Your Findings
You should write down your findings from the risk assessment; even though there are less than 5 employees in your business, this is not required by law.
You need to be able to show that:
- A proper check was made.
- You have considered who might be affected.
- You have dealt with all the obvious significant hazards, taking into account the number of people who could be involved.
- The precautions are reasonable, and the remaining risk is low.
- Staff or their representatives have been involved.
Recording your findings means using the risk assessment template below. Use a fresh risk assessment sheet for each assessment you complete and for each area of the workplace. Ensure that you have dated the risk assessment, recorded details of who the assessor was, and written down the action due dates and completion dates.

Step 5: Reviewing and Updating
You should regularly check every 6-12 months to see whether any workplace changes may affect your risk assessment. For example:
- Are there any improvements still to be made?
- Has there been employee feedback?
- Have you learned anything from accidents and near misses?
- Has any new equipment or machinery been introduced?
- Do you have any new employees that require training?
You should also update the risk assessment on an as-and-when basis to ensure it remains up-to-date. For example, if you have a new staff member, there is an accident, or you introduce new equipment.
Conclusion
In conclusion, conducting a Working at Height Risk Assessment is integral to any safety program. This process helps to identify potential hazards, consider those who might be harmed, evaluate the level of risk, and put in place appropriate safety measures to mitigate those risks. This ongoing process must be regularly reviewed and updated to account for any changes in the work environment, such as introducing new equipment or new employees.
Remember, safety is everyone’s responsibility, and taking proactive steps like a thorough risk assessment can significantly reduce the risk of accidents and injuries when working at heights. Implementing these practices will ensure a safer and more productive working environment. Safety should always be the top priority – because every employee deserves to go home safely at the end of the day.

